Apps
Introduction
Section titled “Introduction”The Apps view is where you can define the iPad apps that are relevant to your deployment, and assign them to locations or groups of locations.
There are two ways to identify apps in WingMDM:
- By bundle ID
- By app store URL
You can find the right links by searching for your app in App Store for iPad.
Adding apps
Section titled “Adding apps”To add an app, search for your app in App Store for iPad, then copy the App Store URL.
Note that some apps are only available in some regions, so you might have to change regions in the App Store to find them. You can do this by clicking on the current region on the ‘App Store for iPad’ page and choosing a new region from the popup.
In WingMDM under the Apps page, select ‘Add app’, then paste in the URL and select Save icon.
If the entry isn’t recognised as a URL, it will automatically be opened in App Store for iPad as a search.
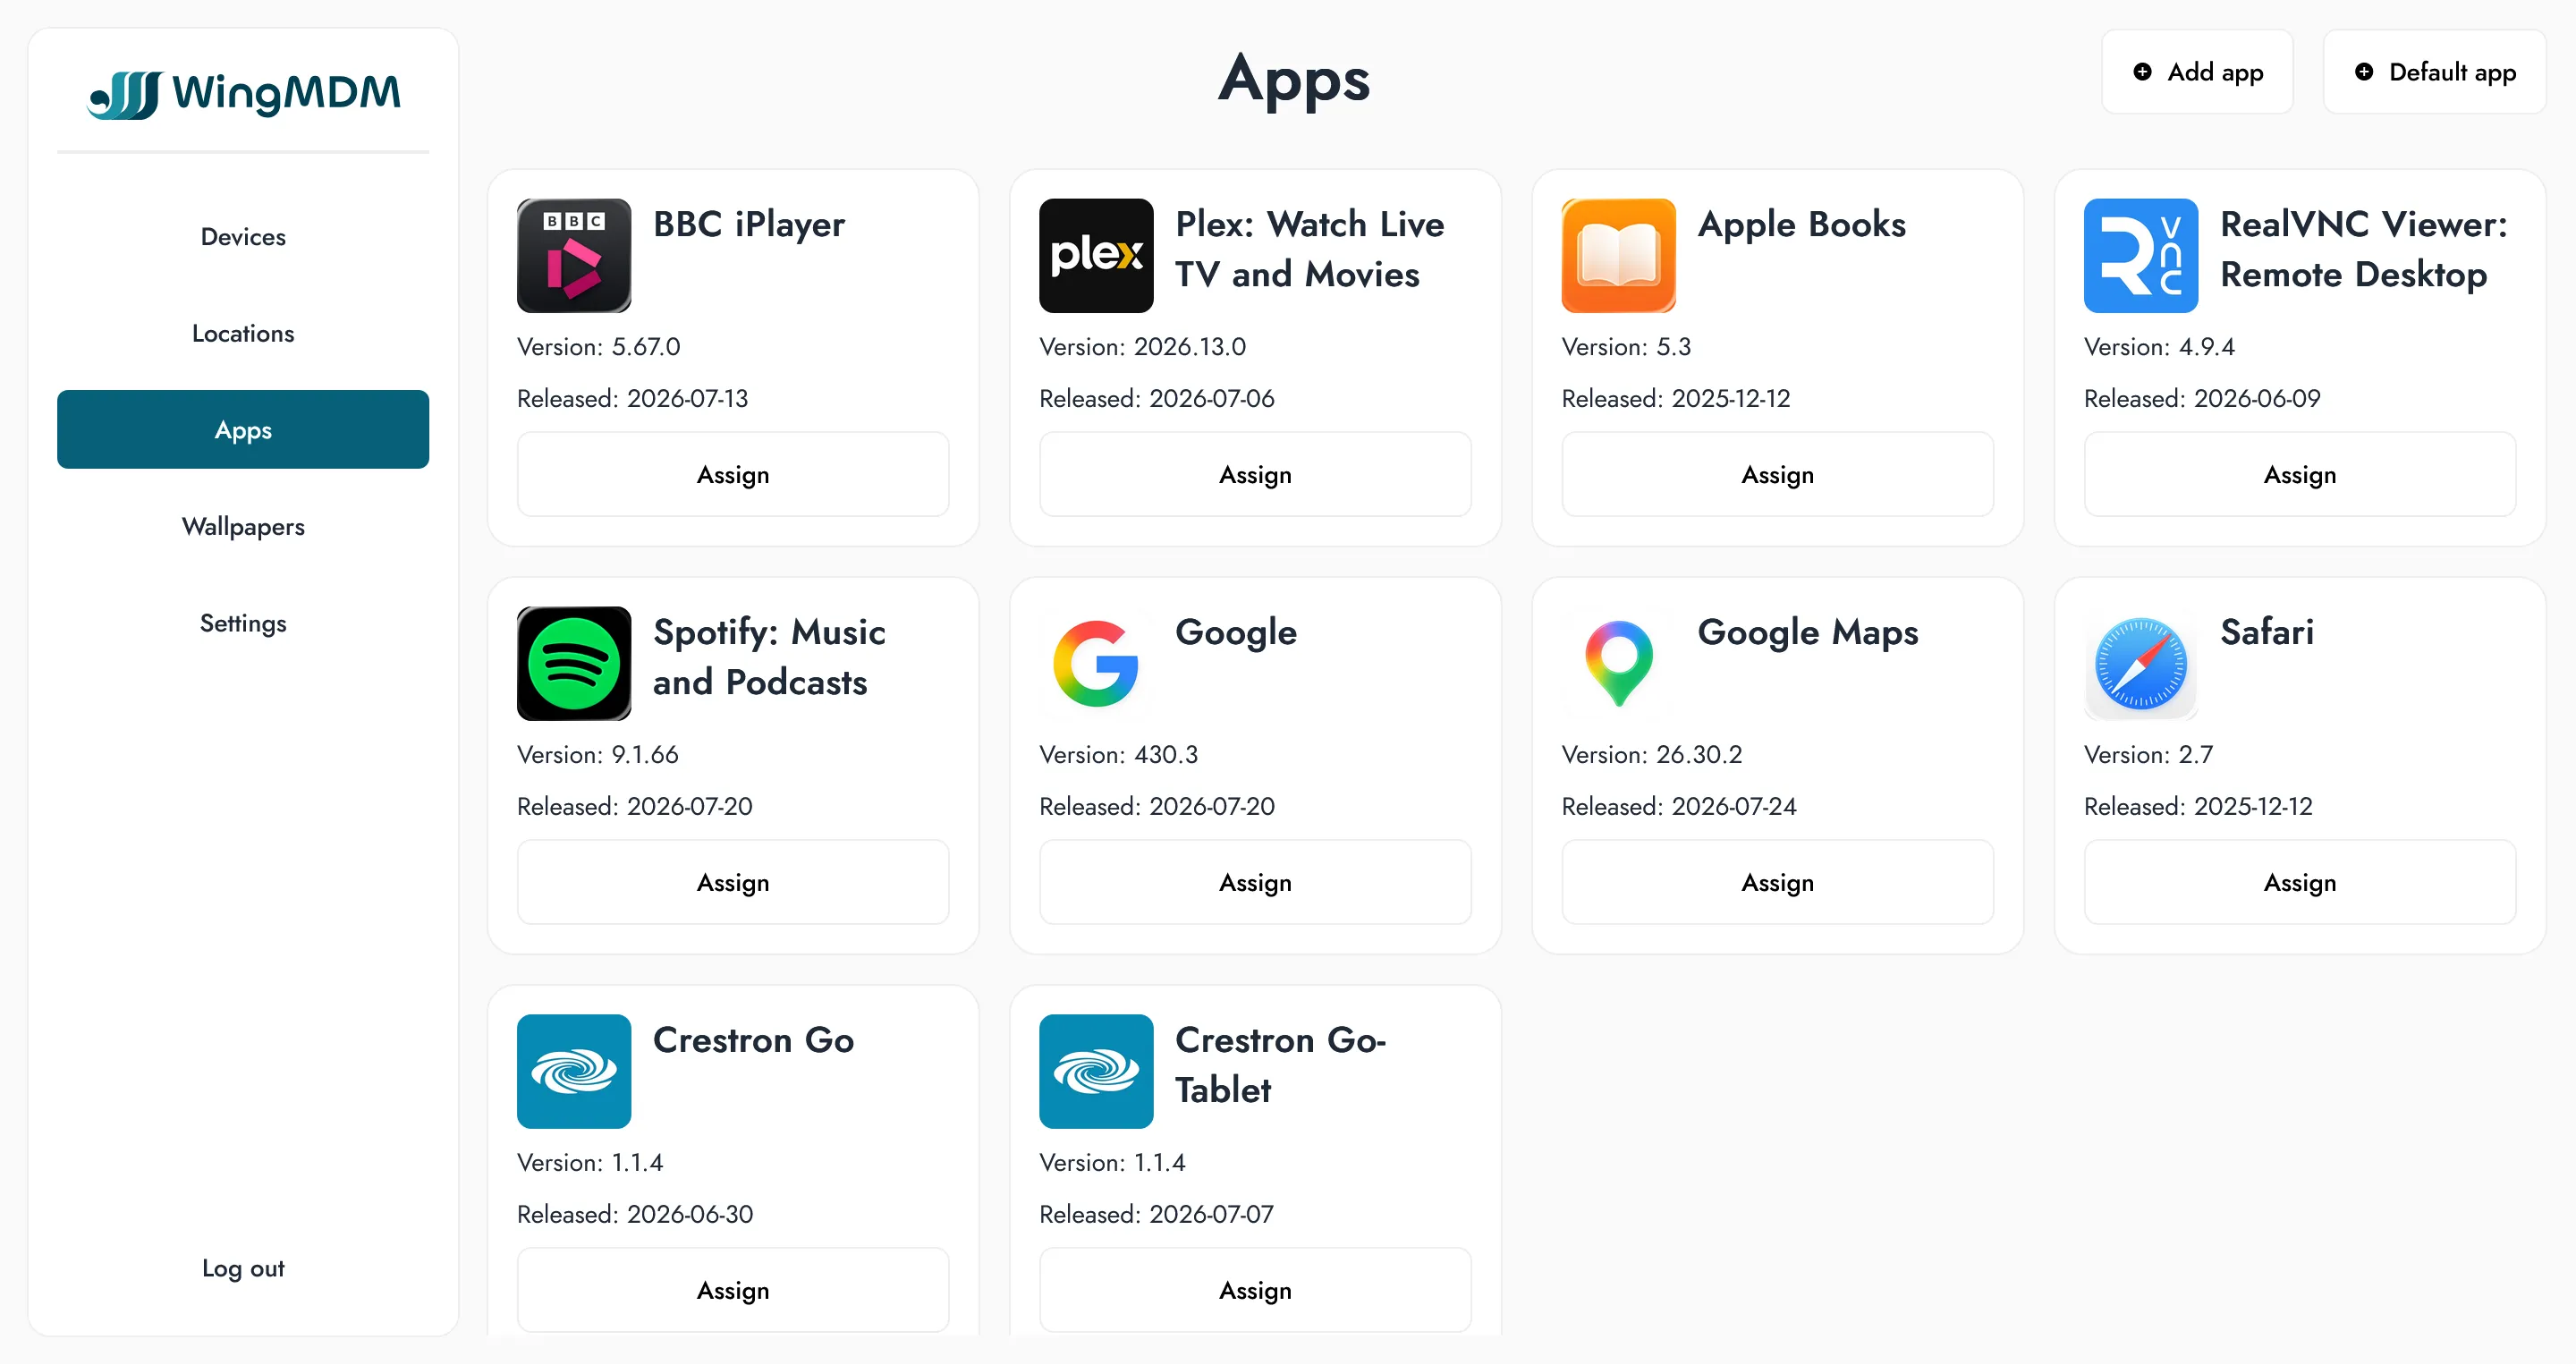
WingMDM will parse the URL and query the App Store for details, then present a card showing the app overview.
Adding default apps
Section titled “Adding default apps”If you’ve disabled a default app via the process in Settings, you may want to selectively re-enable it for specific locations.
To do this, you can use the ‘Default app’ option in the top-right corner, and then select the app from the drop-down list.
The app will the be available for assignment in the Apps view alongside App Store apps.
Assigning apps
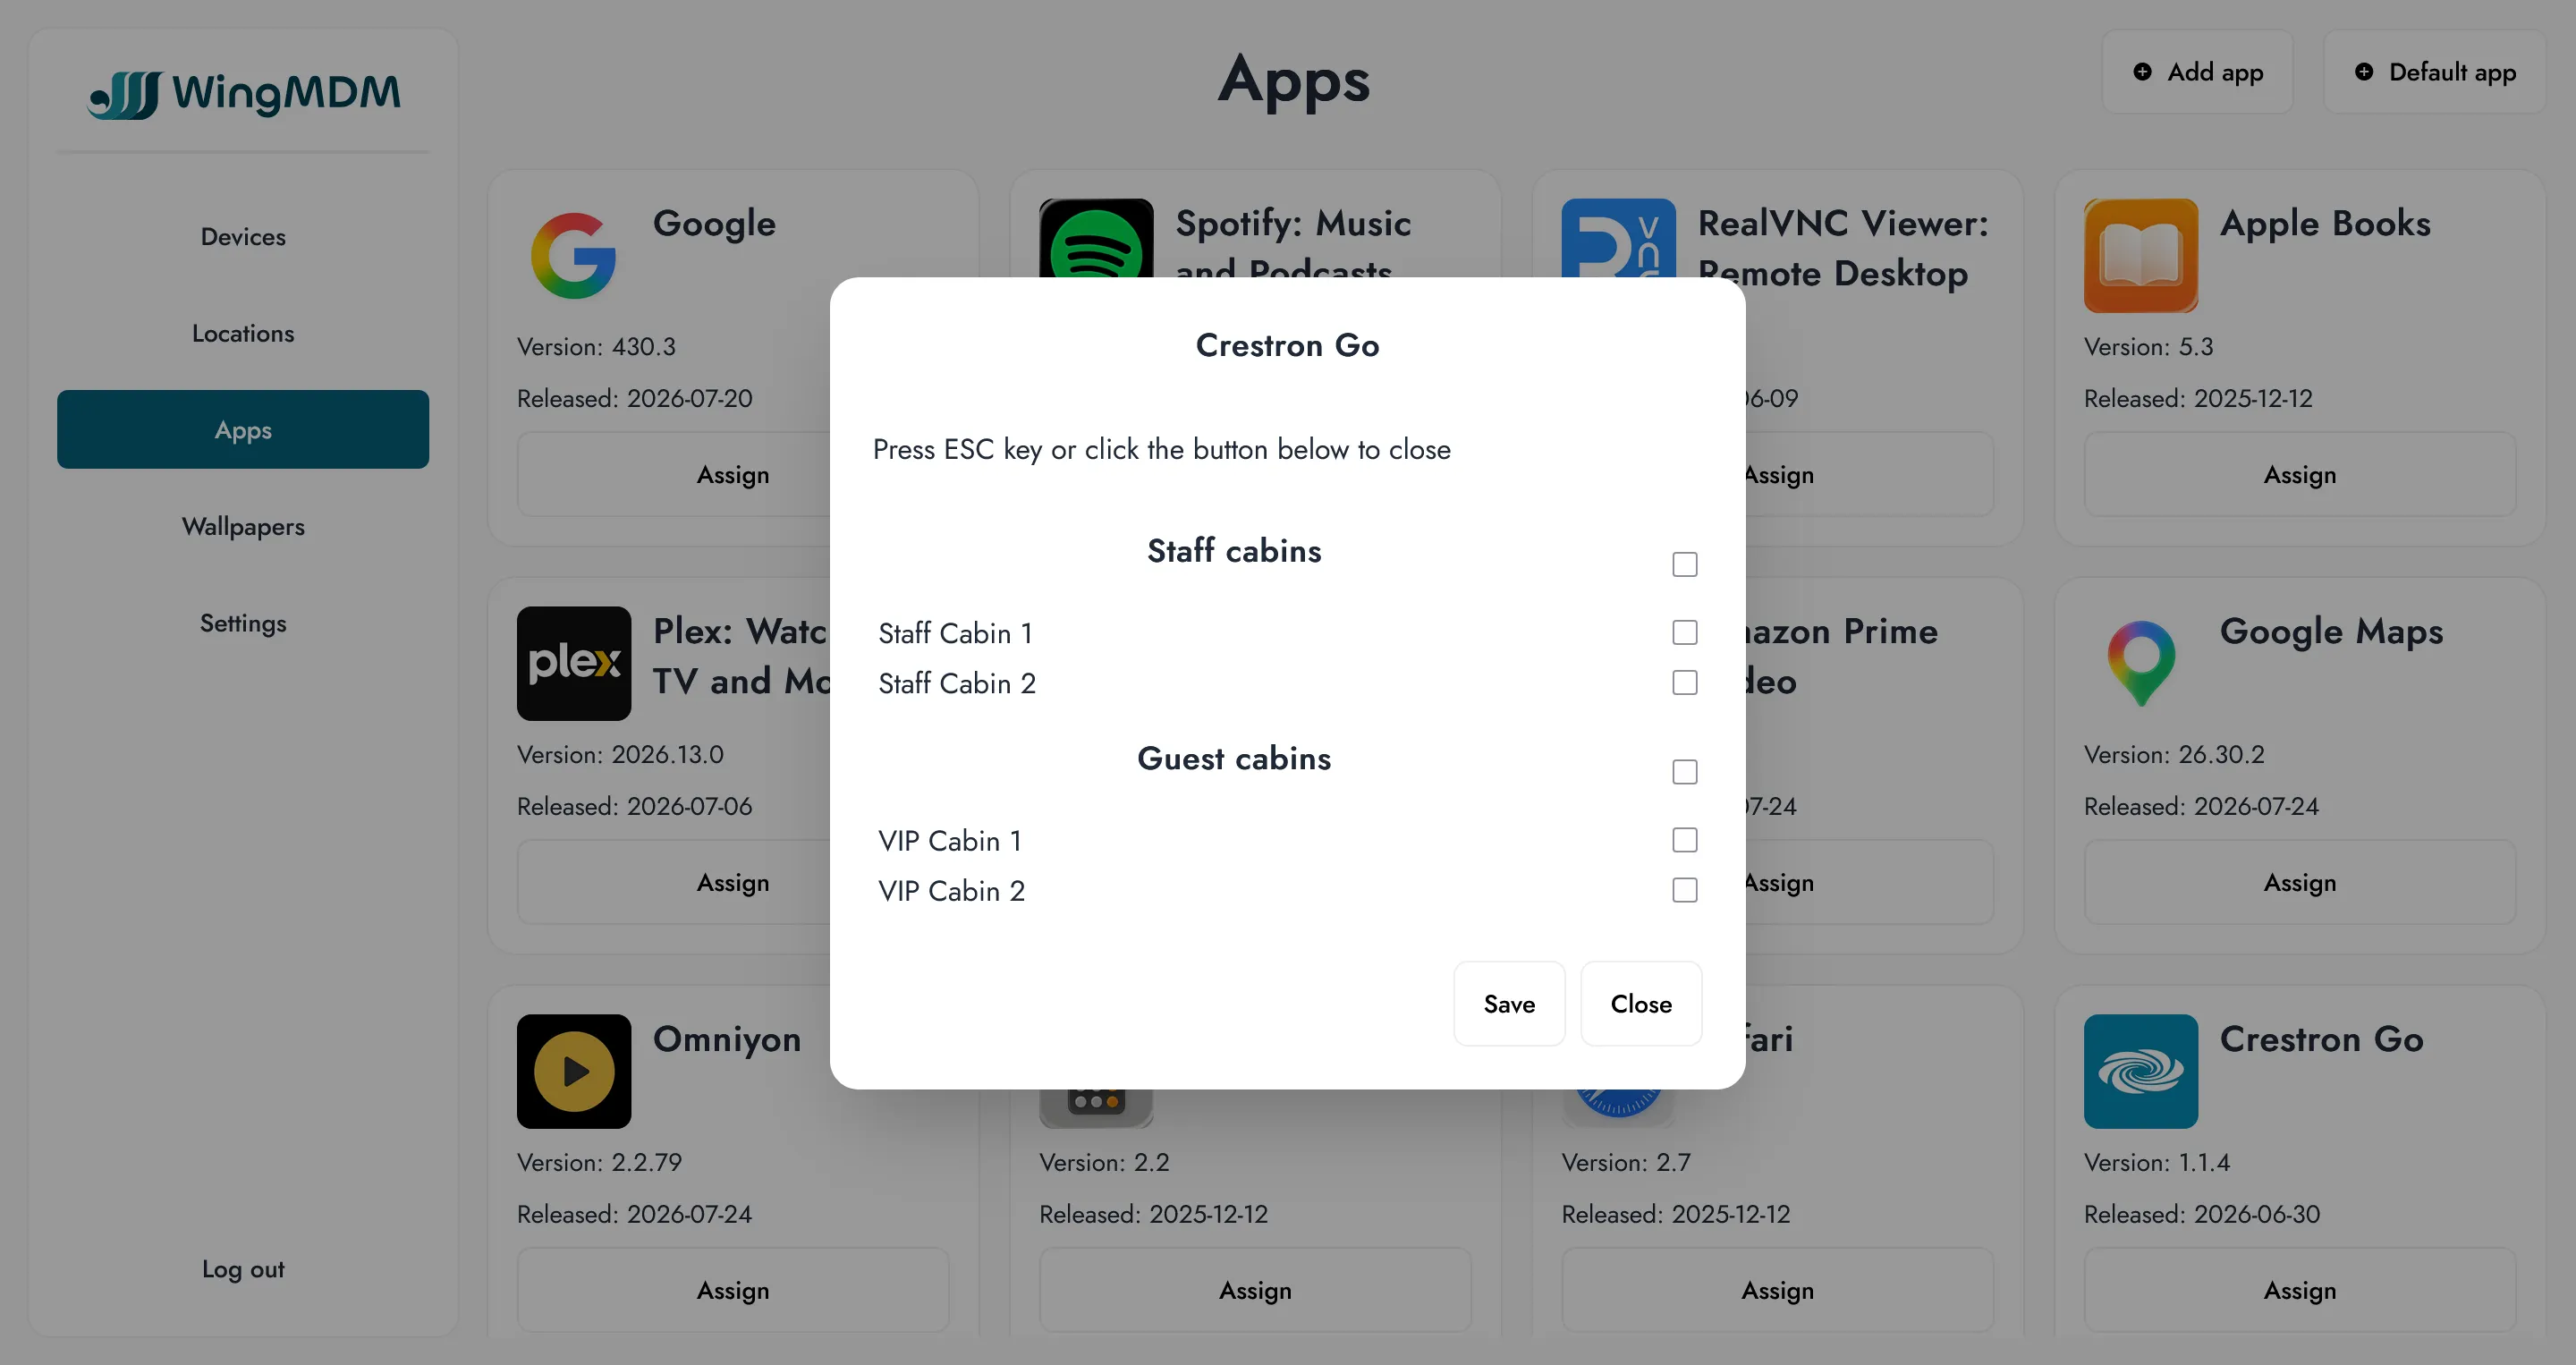
Section titled “Assigning apps”From the app card, you can choose with locations or location groups to assign it to using the ‘Assign button’.
If you haven’t yet defined a location group, see Locations for how to set these up.
You can assign apps to a group or to just one location in a group.
Deploying apps
Section titled “Deploying apps”Once you’ve assigned your apps to locations, they’ll be queued up to be installed on any devices assigned to those locations.
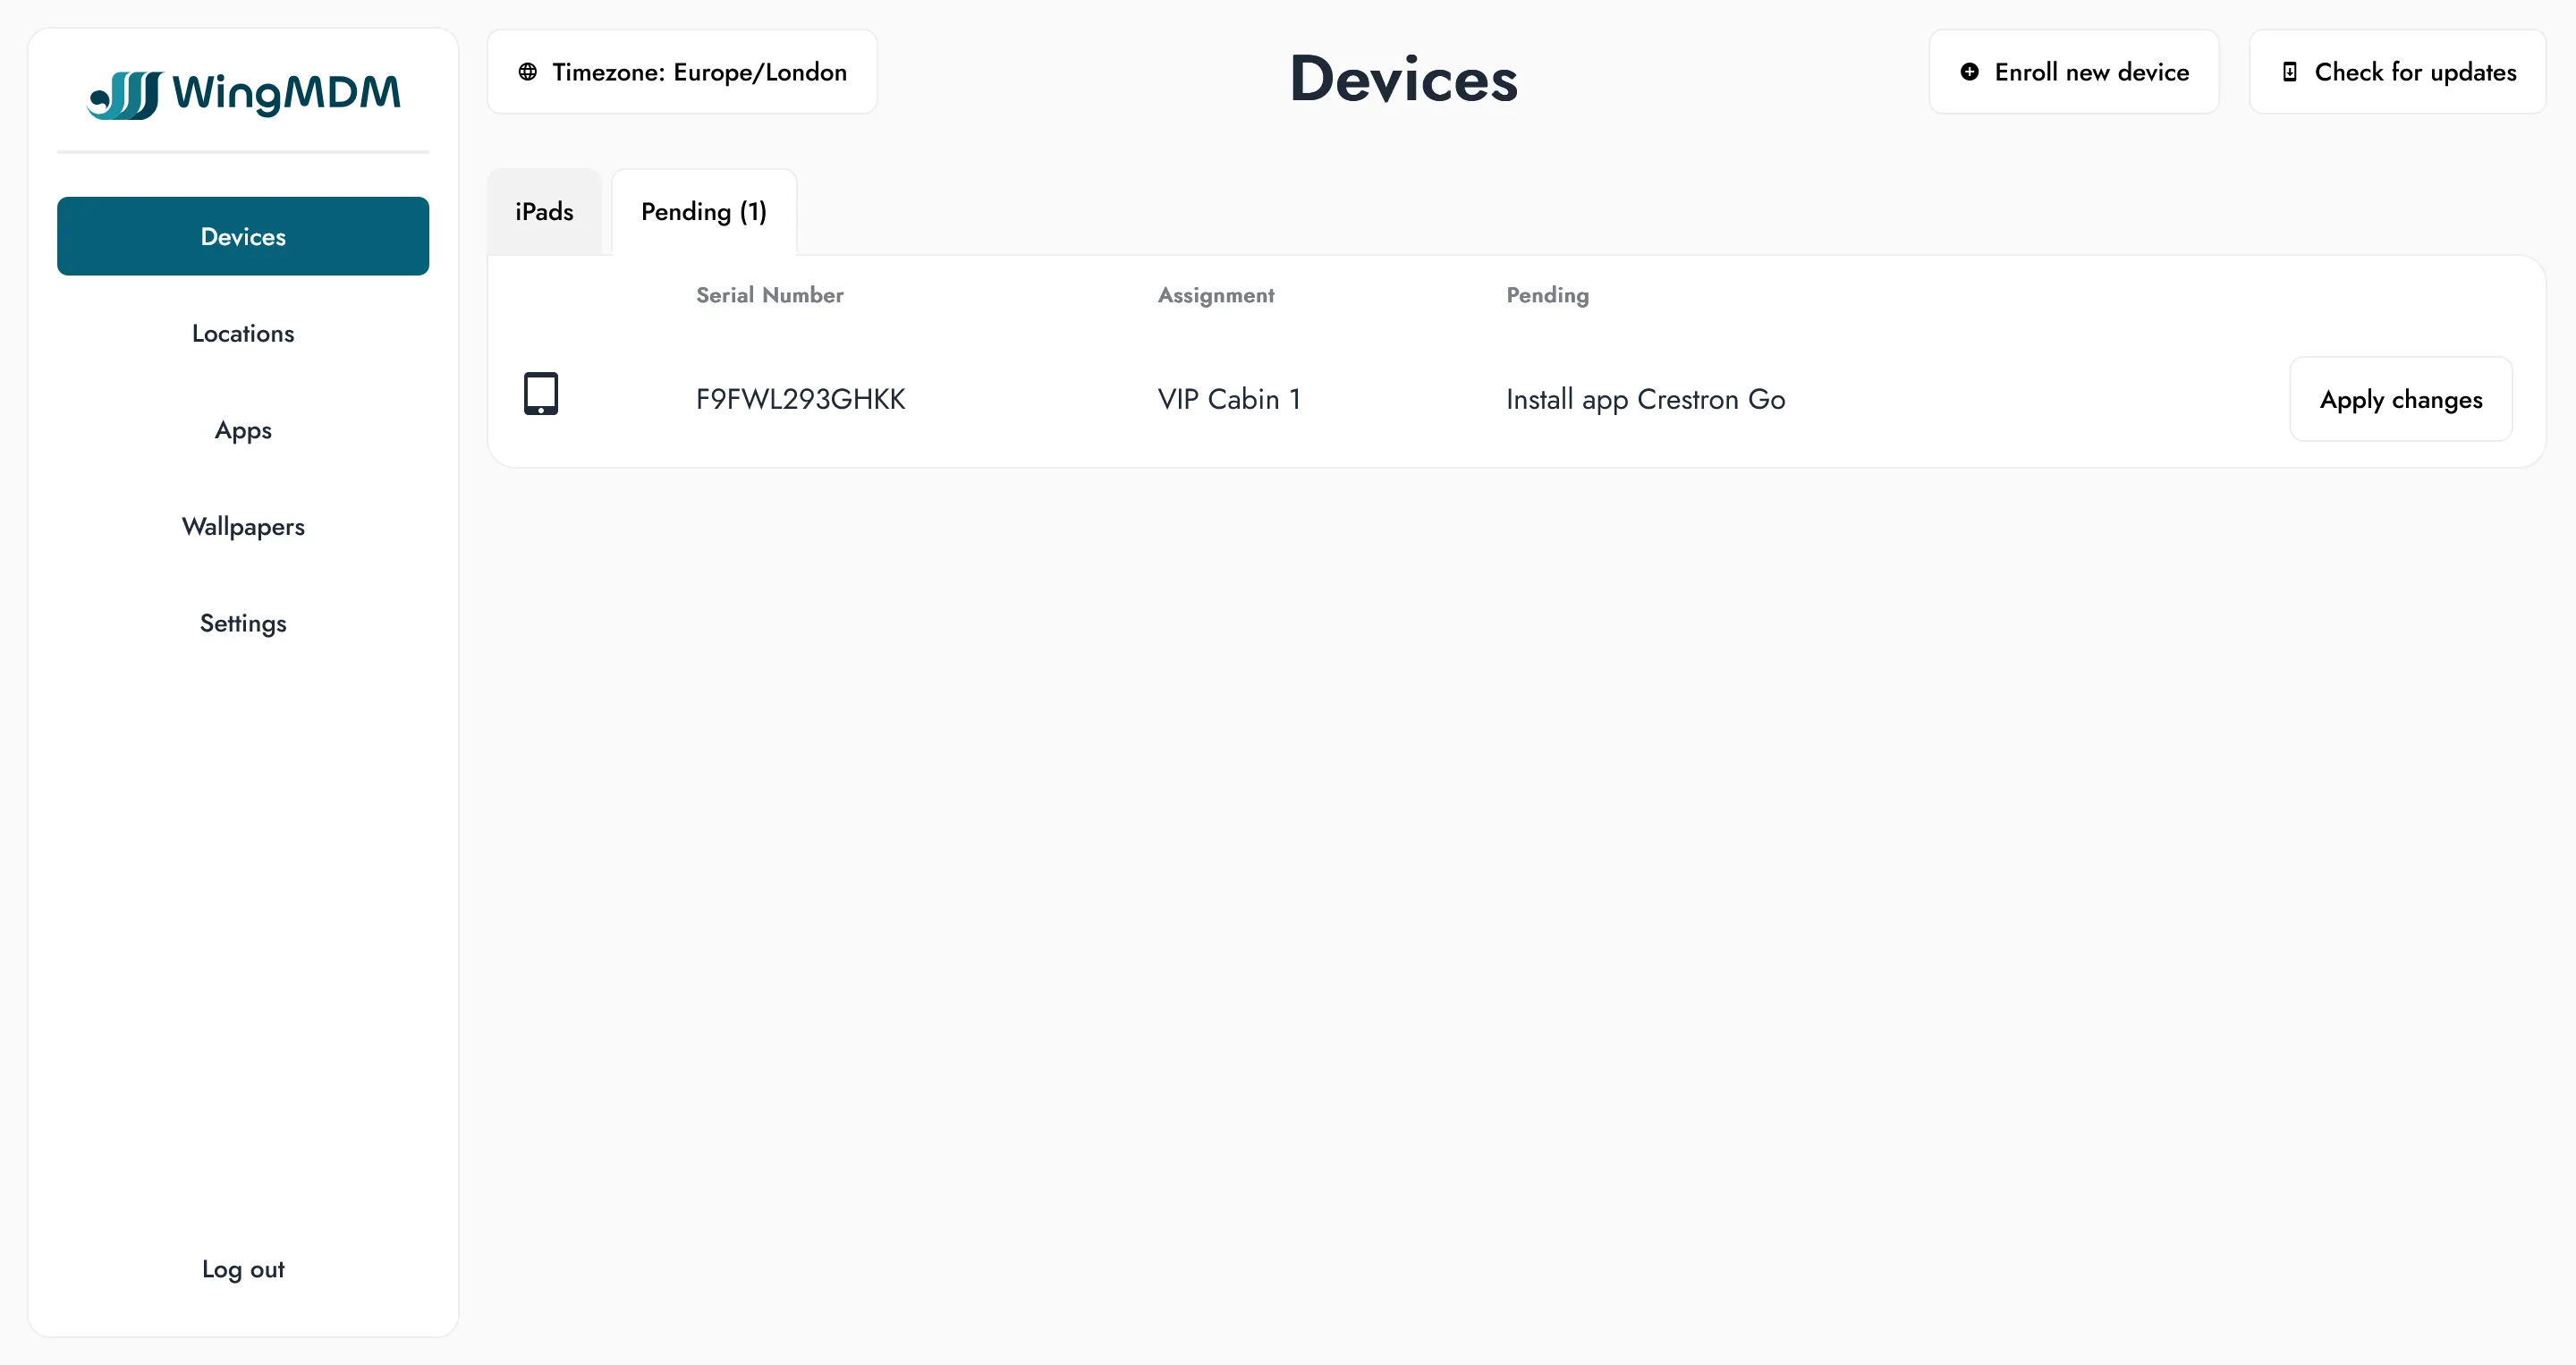
WingMDM won’t add or remove apps until you’re ready to proceed with a given iPad. To proceed with that iPad, go to the ‘Pending’ tab in the ‘Devices’ page and click ‘Apply Changes’.
Depending on the apps being installed and the Apple ID set up on the iPad, you may need to accept the installation from the iPad. This is normally the case when you first install an app on a given Apple ID.